
Gerber Accumark 3D
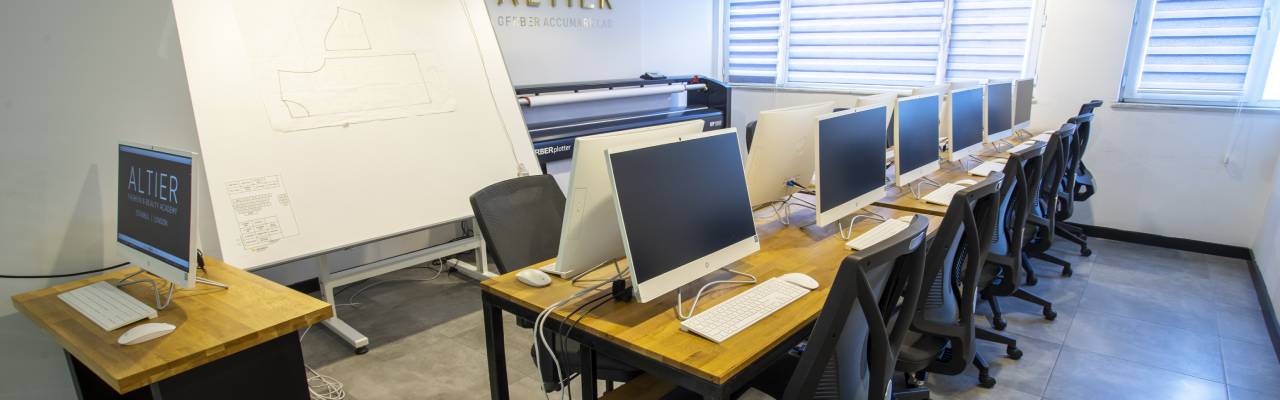
3D Fashion Design & Gerber AccuMark V16
“Digital Pattern Making”
Aim of the Training
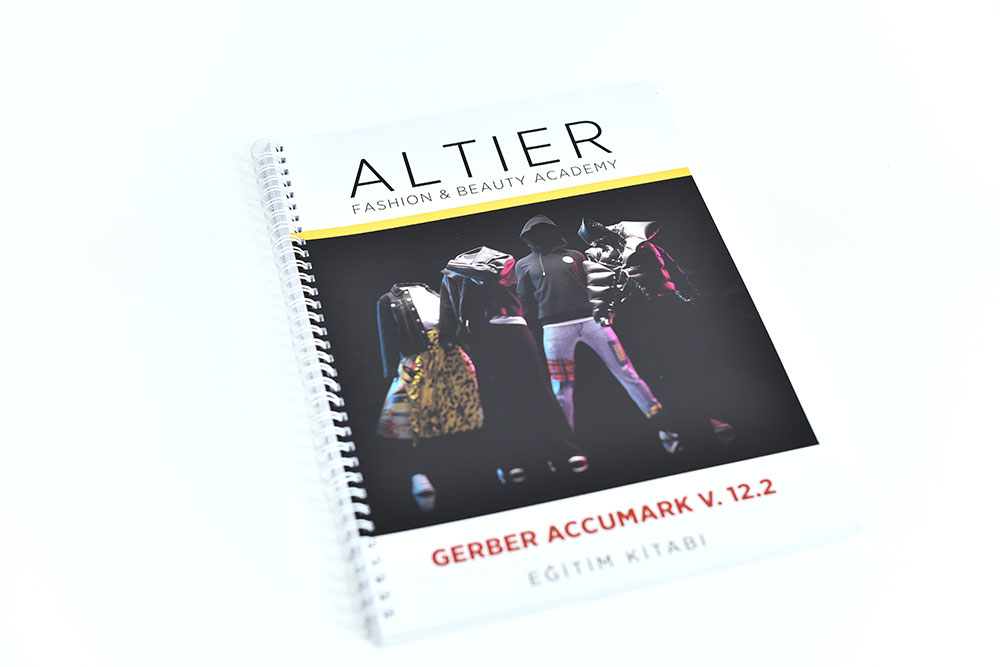
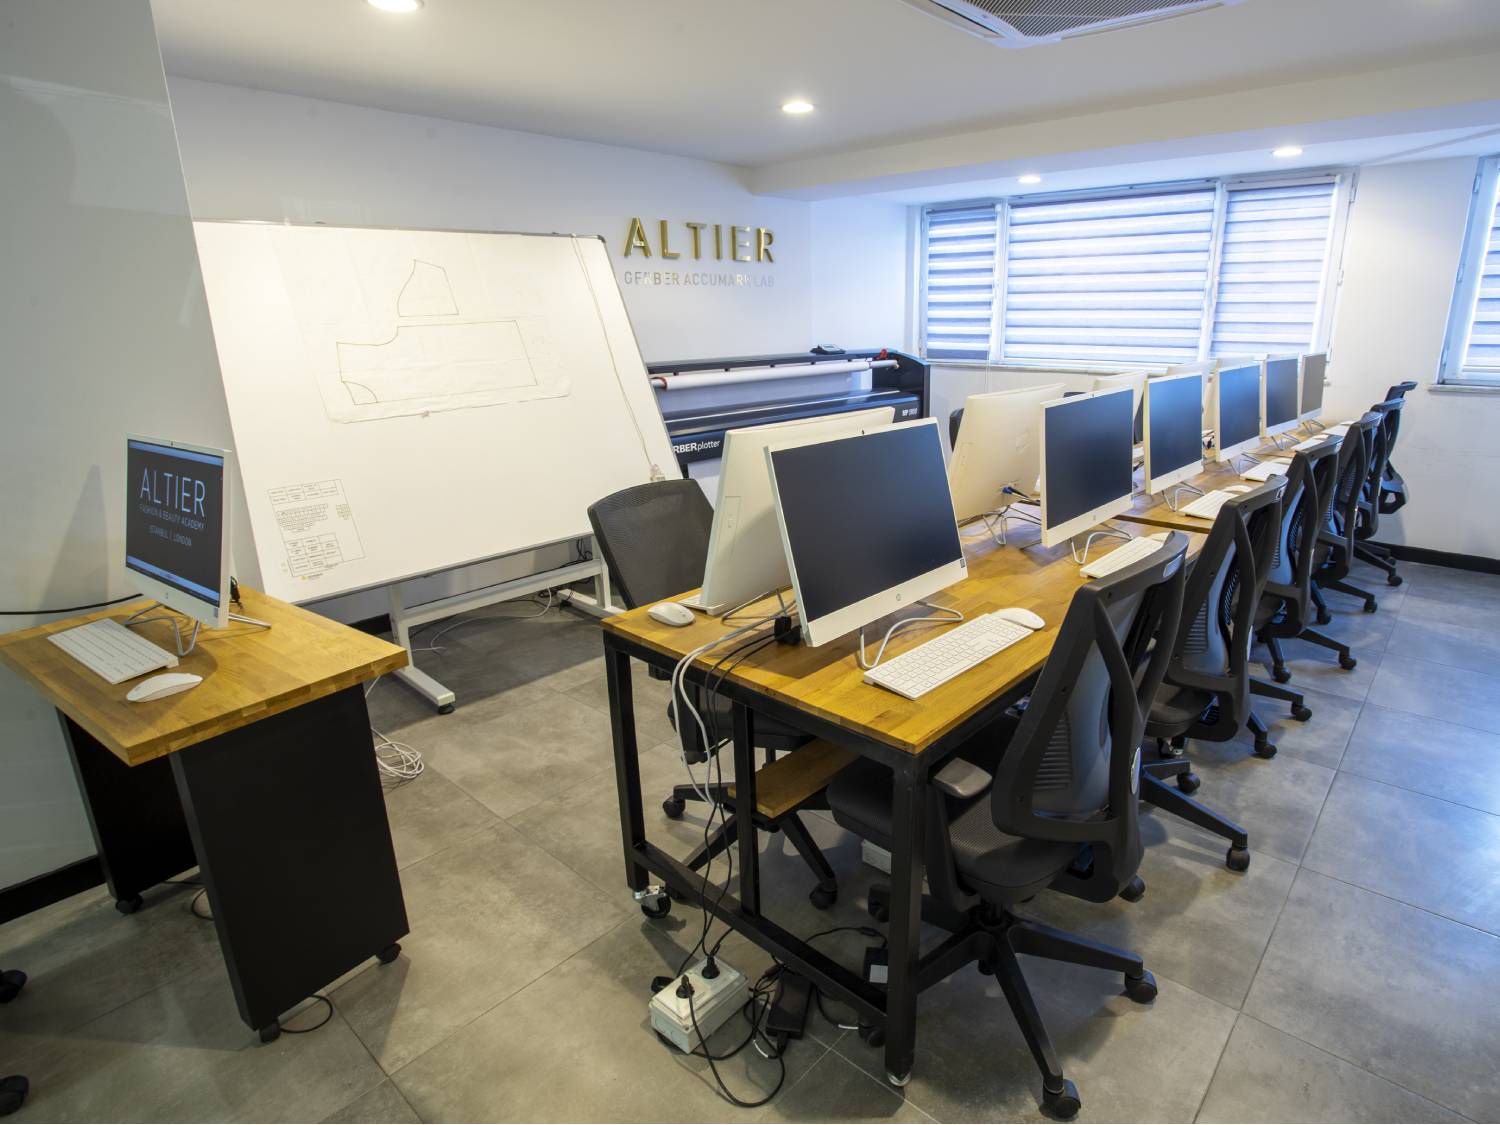
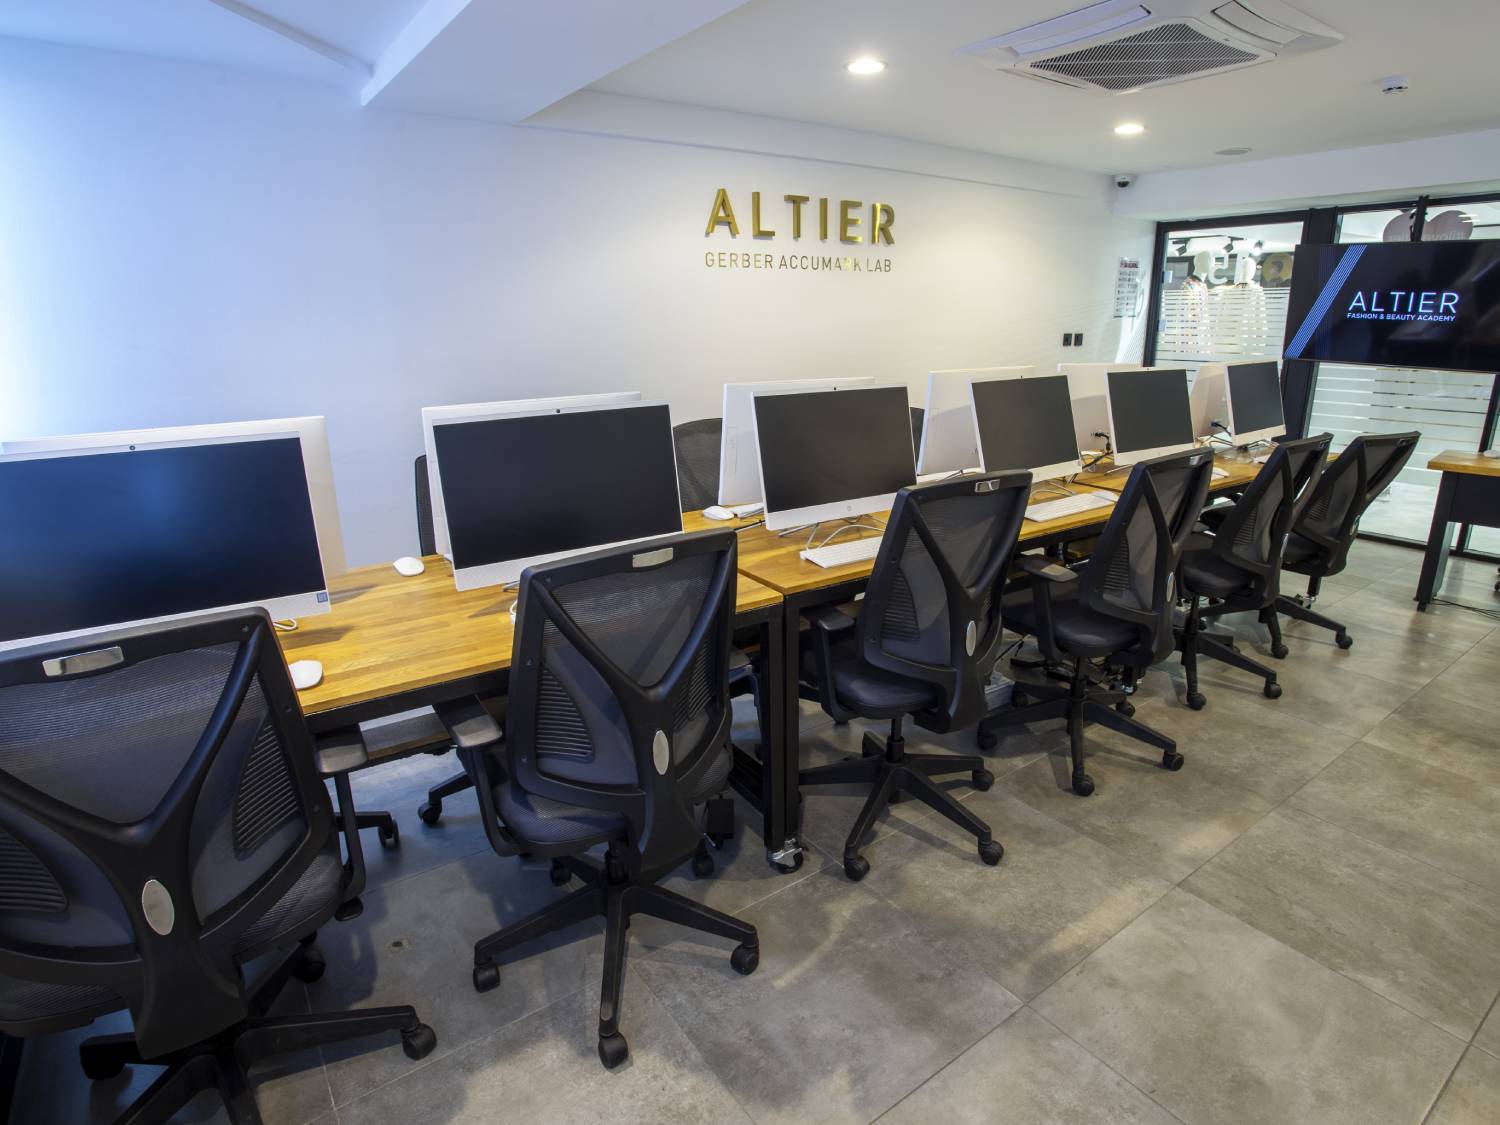
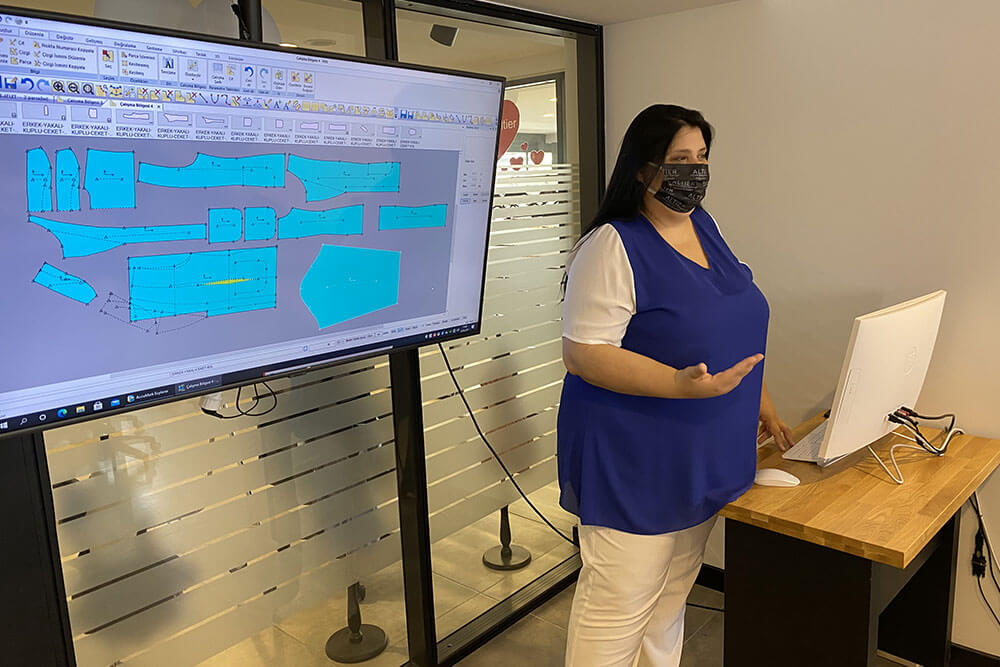
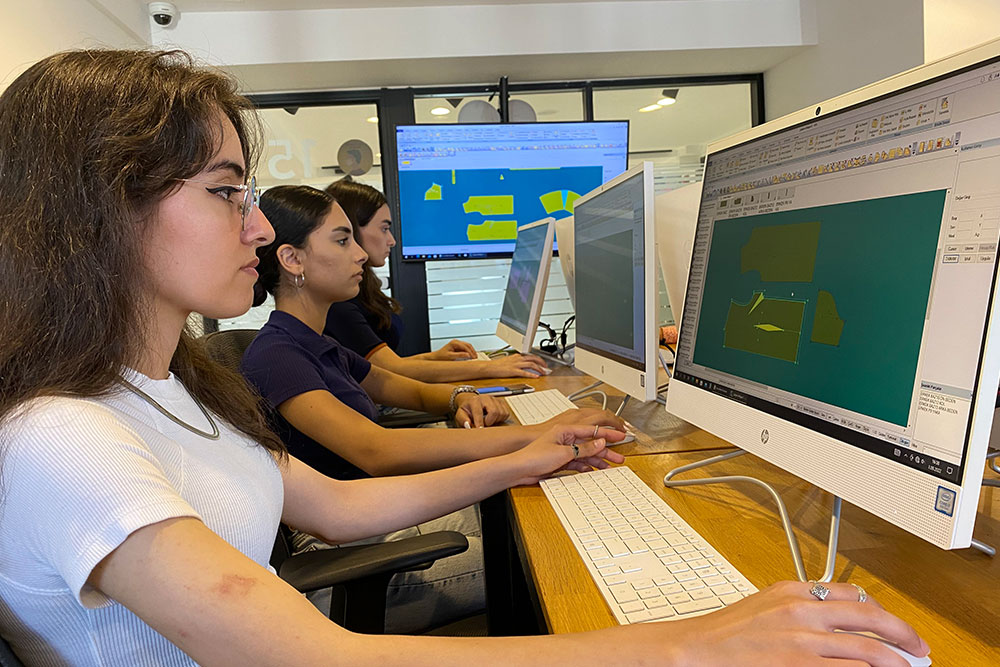
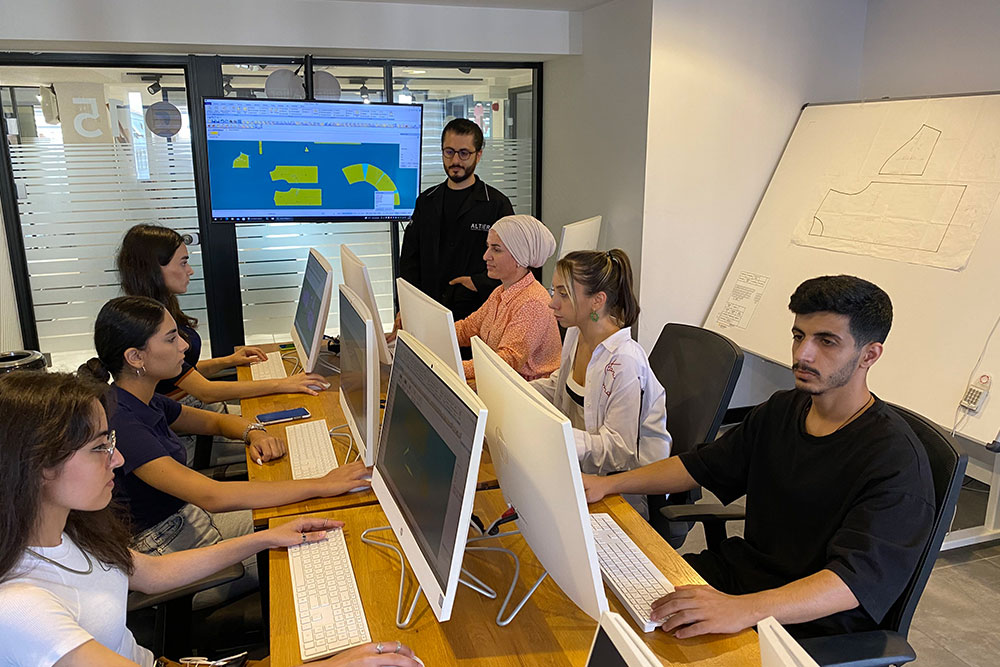
Designers and pattern makers with manual pattern cutting knowledge will learn to use the latest version of Gerber Accumark technology, Version 16.0, effectively. They will also gain comprehensive fitting experience by learning Gerber Accumark 3D, the forward-looking three-dimensional fitting software.
About the Program
- Our Admission Requirements
-
Age Requirement: 19 and over
Educational Qualification: Primary school education or higher
Knowledge of Manual Pattern Cutting and Pattern Grading Is Required.
- Programme Duration, Days and Times
-
Gerber Accumark 3D: Digital Pattern Making: 09:30 - 18:30 / 12 Days
Computer-Aided Pattern Making training runs from 09:30 to 18:30 for a total of 12 days.
Our 12-day programme is offered in the following formats:
One day per week for 12 weeks (3 months)
Two days per week for 6 weeks (1.5 months).
We offer weekday and weekend options. Our Education Advisors will guide you in selecting your training days and start date.
- Graduation & Certification
-
Ministry of National Education (MEB)-Approved Computer-Aided Pattern Making Certificate
Issued in English and Turkish: Altier Academy “3D Fashion Design & Gerber Accumark” Graduation Certificate
- Course Fee
-
For detailed information about course fees, training days and start dates, please contact our Education Advisors.
Course Programme
Week 1: Gerber Technology Brief
Training begins with an introduction to the full capabilities of Gerber technology and the fundamentals of 2D and 3D pattern making. Technical instruction covers creating parameter files, digitising operations, saving digitised patterns and correcting incorrectly digitised files.
Week 2: PDS Screen Brief
Pattern making is carried out on the PSD Screen. The features of the programme's tools are explained and demonstrated through practical examples.
Week 3: Personalising Gerber Accumark
This section explains keyboard shortcuts and how to create menu shortcuts, enabling each user to personalise Gerber Accumark for more comfortable use. After arranging the screen layout, participants learn the details of the "References" menu and practise using it.
Week 4: Creating a Digital Block Pattern and Applying Style Adaptations
Using the programme's tools, participants create a digital version of their block pattern and bring it onto the screen. They then practise different style adaptation techniques on the digital block. (Note: this exercise uses a short-sleeved T-shirt.)
Week 5: Skirt Block Pattern and Style Adaptations
Participants digitise a skirt block and position darts on the digital pattern. They create a culotte block, prepare the production pattern by adding seam allowances, digitise the vent extension on the skirt block, learn to use the Dart menu, and then save the pattern with trace identification.
Week 6: Digital Production Pattern Preparation
Preparing styled patterns and adding seam allowances; working with the corner options for seam allowances; and using the Notch menu.
Week 7: Trouser Block Pattern
Creating a classic woven-trouser block digitally and carrying out trouser style adaptations.
Week 8: PDS Menu Functions
Participants learn and practise using the PDS menus "Create - Edit", "Modify - Verify", "Advanced - Pleats" and "Measure - Create / Edit".
Week 9: Grading & Wizard Menu
Creating a size-increment table for grading, grading the digital block pattern, creating a drop-size pattern file, preparing a drop-size trouser pattern, producing a graded measurement chart, and using the Wizard to create ready-made patterns.
Week 10: Marker File Preparation & Marker Making
Creating the files required for marker making, opening the marker screen, and learning and practising the marker information bar. Using the tools in the File, Piece and Marker menus; the Fabric, Advanced and View menus; and the toolbar. Marker drawing; importing and exporting Zip and Reg files; area backup and area checks; copying parameters; creating a measurement chart from a pattern; and completing the workflow by emailing the pattern.
Week 11: Accumark 3D
Creating a 3D model file and switching from the 2D PDS screen to the 3D screen. Dressing in 3D, practising with a T-shirt block and a trouser pattern, and defining cylinders for garments and pattern pieces.
Week 12: Accumark 3D
Creating and saving 3D avatars to the required measurement standards, dressing the avatars, and preparing a full-scale 3D sample. This process allows participants to view a sample at actual measurements before producing the garment.
Comprehensive Development through Projects and Industry Visits
During the programme, we organise seminars with successful fashion designers, business owners and industry professionals, trade fair visits, educational visits to manufacturers' production and design facilities, and visits to art museums, particularly the Istanbul Archaeological Museums. In addition, special projects, such as collection development with fashion designers and preparation for fashion competitions, help students progress towards their goals.
Course Fees, Training Days and Start Dates
You can call us on 0212 660 06 64 or complete the CONTACT FORM (click here). Our Education Advisors will get back to you as soon as possible.
Page Last Updated: 04.12.2024